In our first post, I gave a sneak peak at today's project:

Isn't she UGLY!

She may be ugly, but she is solid wood, is a great size, and has some real potential! Not to mention she was a pretty good deal. We found her Saturday at a local church garage sale. There wasn't much there to look at, and she caught my eye when I walked in. I have been wanting to find a smaller table for my entry. I love the table I have there now, but it is too big for the space.
At first look my opinion was that the piece was overpriced. It wasn't even 8 a.m., the church was trying to make money for a mission trip somewhere so I didn't feel like I could ask for a lower price yet. Suzanna and I talked about her and decided she was just too ugly for what they were asking! I wrote her off as somebody else's ugly treasure and we headed for the next sale.

I couldn't get her out of my mind as we shopped. Later in the afternoon, I had just left WalMart and saw a sign for that garage sale that listed the time as 7am-1pm. It was 12:45. I turned the car around and figured it wouldn't hurt to pop in and see if she was still junking up the place.
She was, I bargained and she came home with me for $15.00. Half of what they had asked for it.
Here she is after removing the doors and sanding. (FYI she fit in the backseat of my husband's Maxima....don't tell him)

The hardware had a nasty hue to them. I call it "20 year grunge...no cleaning"
The hinges and handles were painted using one of my favorite paints for knobs and hardware:
American Accents Hammered FinishInstantly it updates the hardware. I thought of replacing the hardware, but i kind of like the
BIG chunky look of these knobs!

Here is the body after one coat of spray paint. I used Krylon Blue Ocean. It is the same color I used on the foam piece in yesterday's post. I took a break after this coat and went inside to get a drink. I heard something hitting the windows and looked out to find a torrential downpour! I made my 13 year old son come help me drag it back into the garage! Thankfully no damage was done!

After drying, I began sanding. There were LOTS of edges on this piece b/c of that thick molding on the doors. You can from the top I wasn't too even on the coat of paint, but I didn't care since I would be distressing and aging the whole thing.

Sanding these doors took time. It was 95 degrees in 90% Alabama humidity. I was one hot, sweaty mama!

I tried to make sure to get into the grooves with my sanding block. In doing so I also scratched the smooth back. I have to admit it bugged me a little bit, but I decided it didn't bug me enough to go back and repaint.

I haven't even gotten any glaze on it yet and already I am loving it!

Before I glazed, I put the hardware and doors back on. The sun was really bright, so you loose some of the distressing, but I promise it is plenty distressed!

Here is a shot of the doors and how I actually got them to line up! When I took all the hardware off, I made sure to not which hinge went on which door and in which spot. I learned when I painted kitchen cabinets that this actually does matter! The doors close smooth, line up straight, and are nice and even!

The door before I started glazing.
The color is very pretty, but too bright for me.

Ahhhhh! That's better. I do have five kids! This finish is much more in line with how things should be in our house. Four boys......need I say more.

On this piece I used Valspar Signature Colors Antiquing Glaze.I watered it down equal parts water to glaze. This gave me the coverage I wanted in a glaze that was wet enough to do large areas in 95 degree heat but was still thick enough that it wouldn't run and drip.

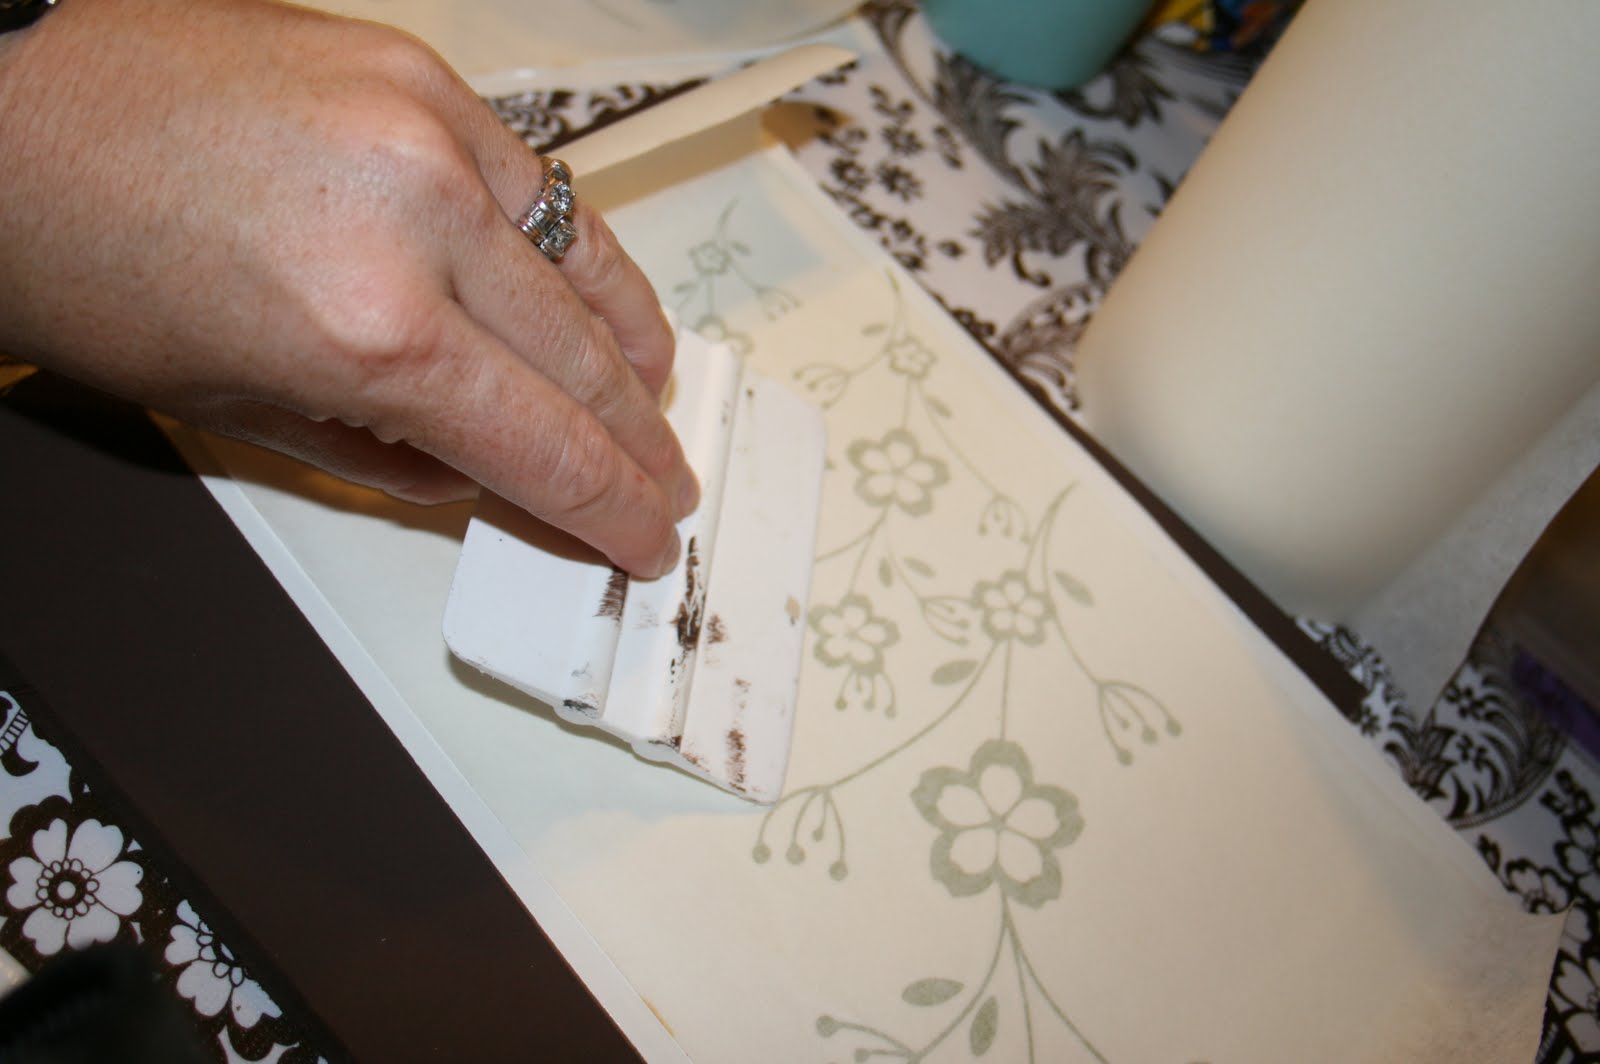
Here you can see about how thick I applied the glaze before I began wiping it down. Don't be afraid to put a thick coat on there. You can keep wiping till you get it how you like. If you remove too much, just throw another coat on.

I used a brush to get into the tight spaces. I wanted it really antiqued, so I left a good bit of glaze in the detailed pieces.

My husband came home just as I was finishing the front. He was skeptical when he saw what I had bought, but even he admitted yesterday the piece turned out nice.

Storm clouds were blowing up, so i did the top all at once. It left it a little uneven, but that was better than getting rained on and ruined! (The picture above is with the glaze waiting to be wiped down)

Here it is after wiping down the top and finishing the bottom. I think it looks fantastic and can't wait to move her inside! Um....I just noticed I put the handles on upside down! Oops!

Isn't the change dramatic! The starting picture shows exactly why she was at someones yard sale. UGLY. The wood was dry and had that "splatter paint" stain finish on it. I am sure it was lovely back in 1973, but it wasn't cutting it for today! I have great plans for her! Plans that include an old wooden window and some vinyl!
I think she has definitely gone from UGLY to lovely!
Did you notice that white dresser the glaze was sitting on? That is my next project! That was a craigslist find, no make that STEAL!!!
Edited 8/11: This project was on Better After (one of my FAVORITE sites! how exciting!) today in " Lotsa Aqua"
Edited 7/13: I am linking to CSI Project's Yard Sale Makeovers

I'm linking up with these:

Leave a comment and let me know what you think!
Check it out! This project has been featured:


 I had a few minutes to kill today and popped into one of my local thrift stores. This store is hit or miss. They have reasonable prices (unlike one of the chain thrift stores in town) and are always willing to bargain with you! I think the manager recognizes me now when I come in. They know I am going to look at frames and furniture!
 I also got a cute rustic shelf that is perfect for books in my son's room. It'll be getting a coat of black paint ASAP.


 Here is the powder blue after it has been wiped off. The edges are still damp, but the rest has dried. You can really see the fleur de lis!