Saturday, July 31, 2010

Thrifty Finds

Summer is coming to a close. Like most moms out there, I am trying to cram the final weeks full of fun times and good memories! Unfortunately, this means I have not had a lot of time to spend on my projects/blog. But fear NOT! I have a garage full of project goodness waiting for the blog.

Here are a few of my recent thrifting finds. The frame below was a garbage pick. It was in a trash pile on the side of the road. I spotted it, stopped and backed up and my accomplice in yard sale finds (Suzanna) grabbed if for me! :) It was dark brown and scratched up, but has a coat of lovely green on it now. It is going to look great finished! So tune in....
This mirror came from the local Catholic church garage sale. I spotted it when I walked in the door. It was $5.00, but I think it is a great buy (considering the Pottery Barn price tag on the back!) I probably won't change it a bit, just have to decide where I am going to hang it and if I want to put our monogram on it in vinyl. I LOVE monogrammed mirrors!


This is a silver cake plate. Really it is. It looks almost black, and I am not sure it will clean up. I paid $3.00 for it. If it won't polish, it will get a bright enamel paint job! Probably a fire truck red!


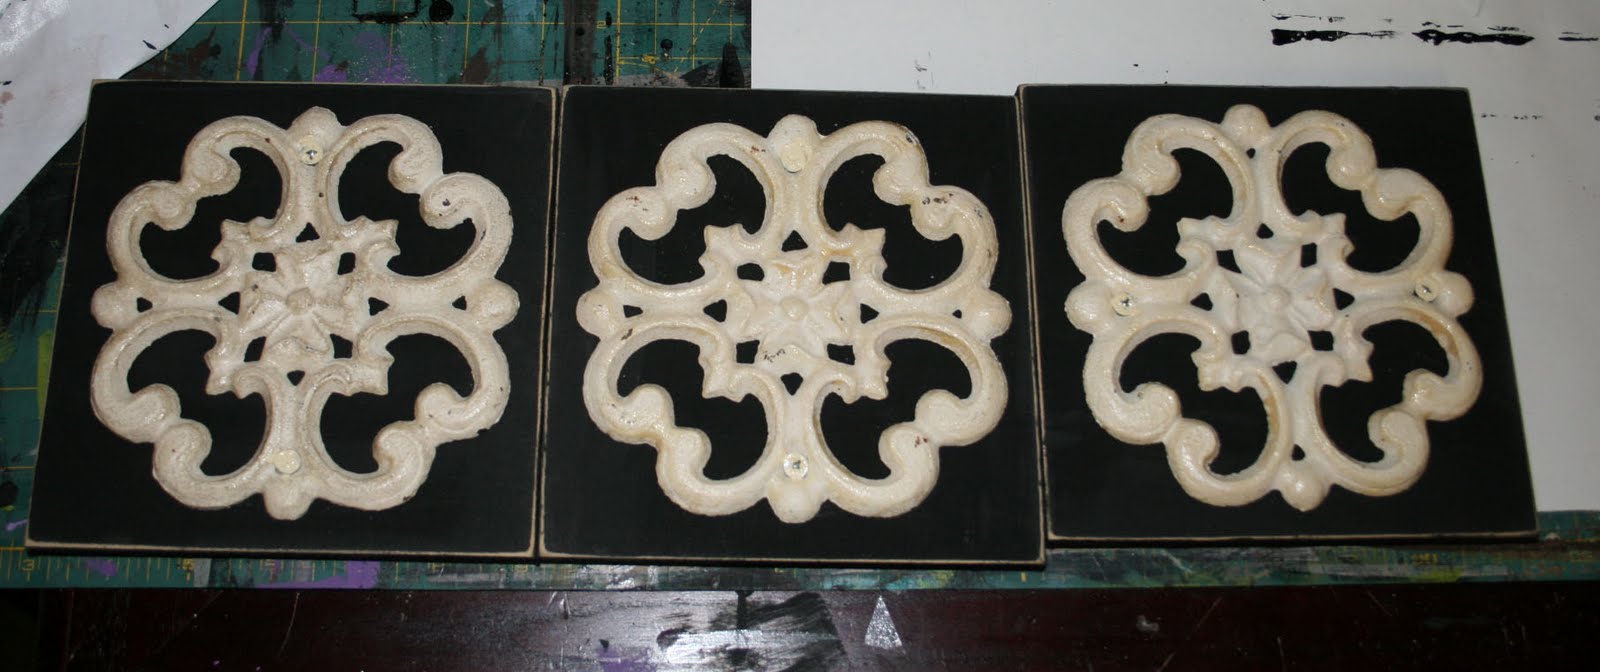
This lovely little metal sign was $.50. It has already several coats of white enamel paint. I am trying to decide what is going to happen to it from there!


Those are just a tiny taste of the yard sale and thrift goodness I have found lately! I also found a $5.00 hardwood kitchen table.I yummy, chippy yellow frame. I think my sister wanted to steal it from me. But it is mine, all mine! I am not changing it a bit, but do want to seal it so it's perfect chippy-ness doesn't get ruined. There is also this:


(this picture is not of mine, but from a listing on an antique gallery, I'll post pictures of mine when I can get to it! )
When I bought it, I loved it! The woman who sold it to me told me it was an antique bedside step chest. When used in the past there is a door on the top that opens to hold your slippers, and the middle step lifts to hold your chamber pot.
Each step has inlaid green, tooled leather.
I paid FIVE dollars for mine! FIVE!
Check out this link:
I am thinking I may not paint mine!
Anyway, I am going to enjoy this last week of summer with my babies! We have great plans! They include grandma and grandpa's house, the lovely beaches of the Gulf Coast, and lots of shopping!

Saturday, July 24, 2010

I love Hobby Lobby Clearance!

I love Hobby Lobby clearance! I found some really good deals last week in their 80% off section. They had these 3 metal thingies for $1.20 each. I am starting to decorate the Master Bath and thought I might could do something with these. My walls are nearly the same color as the metal pieces, so I decided to mount them on squares of MDF.
I cut three 6x6inch square, painted them black, then distressed the edges.

I then centered each (somewhat) and screwed them in.

I painted the screw heads so they didn't stand out too terribly.

Above you can see all three assembled and screws painted.

Next, each one got a matte finish clear coat and a hanger installed on the back.

Finally, I eyeballed it and put three picture hangers on my bathroom wall. They aren't exactly level, but I'll fix them later when I am certain they are staying here. Depending on what I do below, they may need to come down some. I am thinking of putting some vinyl below it.


Hmmm......I like the height of the towel stand, but despise the thought of my bath towels in my water closet. Gross....
If I leave the bird cage on the tank, I'll have to either put a floating shelf under or lower them. Do you think I could get away with doing a large black frame with maybe an architectural photo under them? These would also fit nicely going vertical on a narrow wall.
This project took me about 25 minutes. I used scrap wood from some vinyl signs and paint I had on hand. The total cost was $3.60 for the metal emblems.

Friday, July 23, 2010

Check Out Christmas In July!!!!!

Click on the link above to take you to Tip Junkie's
Christmas In July
There are lots of great ideas, tutorials and give aways!

We all love free stuff right, so head on over and check it out!
If you've never been to Tip Junkie (though I am sure you all have!), you are in for a treat.
Tip Junkies is always a great source for project ideas, TIPS! (go figure!) and links to great products/businesses.
I have already started a list of projects for Christmas! From what I hear, you might even be seeing one of my projects over there.....

Thursday, July 22, 2010

Estate Sale Adventures


This past weekend my garage sale buddy and I headed out to what had been advertised as an "estate" sale. In actuality it was a home that had been abandoned for the past ten years. When they moved grandma to a nursing home, they shut the door and didn't look back. Not on the house, the 2 trailer houses or the shed that was on the property. Now they have a short time to sell everything before the state takes the property to pay for grandma's care.
The entire visit was a bit comical. Suzanna and I in shorts and flip flops going through knee high grass, climbing in trailers with rotted out floors and encountering live objects. We found some SCARY stuff in that house! In one bedroom something living skittered across the floor. Suzanna was much braver than I. She shined a flashlight into the closet while I covered my eyes and squealed.
Maybe I am not cut out for this type of estate sale. While there were some things in the home that would have attracted some collectors/pickers (carnival glass for one!), Suzanna and I both left empty handed and feeling a little buggie.
However, my mind kept going back to this:
It isn't that I needed it....far from it! But it just kept creeping back into my mind. I wanted it! I had no idea what the guy was wanting for anything in the house b/c he planned to just burn what they didn't sell... I really wish I was brave enough to take a camera on these excursions we take....it was unbelievable!Our shopping Saturday was really lackluster...partly b/c we spent a good hour and a half on our drive to the "estate sale", rummaging in the depths of the abandoned mire, and driving back to civilization. I think I spent a total of $8.00 Saturday and couldn't even tell you know what it was I bought. But I can tell you my mind was back in that shack of a house thinking about this pretty iron bed!Saturday afternoon, I could take it no more and called the owner back and asked what he would take for the bed. He wasn't sure what he wanted for it. I threw out a ridiculously low offer (insulting) of $20.00. Of course he said no, but said he could take $50.00.
I told him I would have to think about it. I know even at $50.00 it was a steal. But I AM CHEAP.
I hung up the phone and talked to my husband. He is used to me and my lunatic buying and selling of things. He said $50 was more than fair to call the guy back if I wanted it.
So I did.
Only I asked if he would take $40.00 because I just can't help it!(Who doesn't love a bargain?) He said he would and today I went and picked up the bed!
The bed is complete including the rails. I am so excited about the potential in this bed! I think I am going to clean it up and see where to go from there. I am tempted to keep it for my own home, but really have nowhere to put it! When I was at the place picking it up today, the guy informed me that they had a week to get everything out before the state took over the property. He still has a couple more headboard/footboards, a claw foot cast iron tub in good condition, a Baldwin piano, a neat little wooden chair, a corner cabinet, and in one bedroom a really nice antique dresser and matching headboard/footboard. I was very tempted to buy it, but it was in the room with the skittering animal and I don't want the creature to come home with me! I will probably kick myself later b/c he told me today he would sell everything for $300.00! The dresser and bed together were probably worth that at least! There are also over 20 boxes of DISHES. Someone had a serious dish problem! Make no mistake the place was a PIT. Gross, nasty and inhabited by some very fast little critter, but if you had the inclination......you could find a few treasures (and maybe a new pet) in there!
Me? I am happy with the bed! I have also learned that one must be sure to have your shots up to date and to wear hip-waders to "estate" sales in this part of Alabama! :)

Friday, July 16, 2010

From Noah to the Chalkboard.....


I finally have the Noah's ark frame completed. My crafting time has been limited this week. Enjoy the transformation :
My kids wanted to know why there was a dead oak looking tree, a palm tree, and coconut trees all in the same geographic area. Hmmm...I told them I didn't know. I guess Kirkland's artist couldn't what kind of trees would have been there so he/she put them all. They also noted that the trees were VERY tall b/c the elephants and giraffes looked tiny next to the trees. After all the discussion about this "painting", I was ready to get on with my plans!
I liked to have lost a few fingers taking that thing apart. I think they used enough staples on it to actually hold the ark together. But hey, a few cuts and gaping wounds can't keep me from my task. The inner piece came out completely. This made painting a lot easier.
I chose this "light sage" paint. I think they must have mislabeled. There was NOTHING sage about it. It was ivory. Very ivory. No sage. I got it on clearance at Hobby Lobby for a buck, so I'm not complaining!
The inner piece got painted first! I was blistering hot out and I was sweating like crazy! The good news was that the paint dried quickly and I was able to get several coats on quickly.
Next up the frame! In real life, this was almost purple. In the pictures it has a cherry appearance, but in actuality was nearly plum. Not pretty.
Aahh! Much better! Notice how bright out it is! I think I have mentioned before what happens when I am outside working.......

Here is a little close-up on the frame. I am already liking the change!
Now to the black board part. I tested chalkboard paint on the upper edge of the ark print. You see, the print was lacquered onto the backing of the frame. Then had a textured coating on it. I know I got several emails and comments telling me not to ruin the ark painting. Folks...no painting here. Just a paper essentially modge-podged onto tag board. Still I tried to respect the wished of the masses (ok...really about 5 people...but I can pretend, right?). I decided to used chalkboard vinyl for several reasons. 1. I was not happy with my test spray on spot for the chalkboard paint. 2. If I used the chalkboard vinyl I can always peel it off if I ever need to have a Noah's ark picture in my home. 4. I really didn't want to have to drive into town to buy a new backing piece, then come home and paint it. 3. I own a vinyl company and since I have a huge roll of chalkboard vinyl it made the most sense.

Bad news is the vinyl didn't fit perfectly, so there was a seam. Ugh......that really bugs me.
I set aside the chalkboard for a while and got to work glazing the frame. I love this part. It is FUN. I get to make something look dirty on purpose and not have to clean it up! I went heavy on the glaze with this.
As I was outside working on the glaze, the following came out of nowhere:
Seriously!
I have a perfect record going here folks! If I go out to paint IT RAINS! (Isn't my neighbor's house adorable!) I moved into the garage and finished up the glazing
Here is the finished product. The seam on the vinyl was really bothering me, so I painted a piece of dollhouse molding and glued it on. Here is my moment of honesty. I don't think I like the molding. I love the frame. I love the chalkboard. I do not love the effect the molding across it has. SO.....tomorrow I will be heading to home depot to have a new back cut to it. I will show you guys the for real finished project in a few days! This piece is not for my house, it is going into the shop here locally. I am very tempted to keep it though!
Oh, you guys weigh in......is the after better or should I have left the ark alone????? And should I redo the backing and loose the doll house molding?

Tuesday, July 13, 2010

Yard Sale Furniture Remakes

I promise you guys the Noah's ark picture makeover is coming. It truly is. I have the cuts to prove it. Taking that thing apart was hazardous. But first, I have a few yard sale furniture pieces to show you. I have been on the lookout for beds for my guy. He is in a toddler bed and needs more space. I found these solid wood bunk beds this weekend for $40.00. We won't use them as bunk beds for now, but the pieces are really solid so I bought them! The stain on the wood is not my preferred finish, so I sanded and painted!
It rained while I was painting again. If you have a drought, buy me a ticket, fly me out, set me up in your driveway with paint and furniture and I can guarantee it will rain!
I painted both beds a satin black to match the bookcase from my previous post. Only one bed will be going in that bedroom, but I wanted to paint them at the same time so they would match.
Here they are finished. I think it updates them very nicely! I am still trying to decide if I am going to distress the edges. What do you think?
Next up is $10.00 dresser. I think we've all seen tons of these in thrift stores and at yard sales. I can't pass up a bargain and this was just the right height for my boys room! It is a bonus room upstairs, so the side walls are pitched. This will hit just below the slope! Perfect.

I forgot to take a picture of it before with the drawers in, so here is pieced together look.
I feel the need to mention it was like 100 degrees! At least it did not rain.
I think the furniture was even sweating though. Ugh it is hot.
This dresser is getting a blue paint job. I took the knobs from my boys beds and matched it to a Krylon spray paint. I again chose a satin finish.


Um....I have a blue square on my drive way. Ooops!
First coat is done and I am thinking it looks like the smurfs.

Thankfully, when it dried it was not so Smurfy blue. I sanded up the edges. This is going upstairs in boyland....much worse will be done to it I assure you.

Here it is as I came through the front door (yes my wood floors are dirty...I've been busy painting.) I got the pulls on sale at Hobby Lobby. They only had 6 of the ones I wanted. I needed 8. WHY does that always happen to me? I decided to get the more decorative ones for the top, skinny drawer. I hope it doesn't look too stupid, but I am too impatient to wait till next Monday when they get more. If it bothers me too much I'll go and get some later and switch them out. It would have bothered me to no end to be missing 2 drawer pulls!

My only complaint on the dresser is that the wood was pretty scratched up and it shows after being painted. There is a nice big gouge across the center of one of the drawers. I don't really mind though. It is a solid dresser that has obviously survived some abuse and starting today will be subjected to much more abuse at the hands of my boys!
Considering where it started and how it finished, I think it is a successful remake! I'll post a few more pictures when it is settled nicely into its new home.
Leave me a comment and let me know what you think about the pulls. Should I change the top to or leave them alone?


Saturday, July 10, 2010

$3.00 Shelf makeover

My son needed a small bookshelf for his bedroom. I found this little shelf at the same thrift store I bought the enamel cart. As you can see, it is a bit dirty. It was pretty stable and for only $3.00 it came home with me! ($3.00 seems to have been the magic number that day!) There is nothing special about it, but it will work for what we need it for.

I decided that it needed a back to keep his books and papers from falling through. It also helps to add a little stability to the shelf. It was pretty solid, but had a little wobble to it. I took a piece of scrap beadboard and cut it to fit in the shelving area. I did not want the backing to go to the floor, only to the bottom shelf. Both got several coats of Krylon Satin Black Latex Enamel paint.
I used the staple gun and attached the back. (Don't notice how lazy I was.....No one will see the back, so i didn't paint it!)
Here it is completed! I took a sanding cube and distressed the edges. My philosophy is that one of my 4 boys will distress the edges anyway, I may as well beat them to it!
And another view, just because I enjoy looking at it! :)

Total out of pocket cost for this project was only $3.00!
I used paint and beadboard I had on hand! I bought a quart of the Krylon Satin Black and have used it on about 4 projects now! It was only 7 bucks, so I have definitely gotten my money's worth! I have seen a shelf similar to this one at Hobby Lobby for $49.00. I would never pay that for it, but my $3.00 knock off will definitely work for me!

I added this project to CSI Project's Yard Sale Makeover challenge, follow the link to find more fantastic makeovers!
Visit thecsiproject.com


Monday, July 5, 2010

Enamel Cart Redo!

I am really excited to show you how this cart turned out. About halfway through, I had my doubts. Painting the legs turned out to be a pain.
Here it is straight from the thrift shop. The paint was chippy and top was quite rusted.

It was DIRTY! But for a $3.00 find I'll scrub just about anything!
It got washed, scrubbed, washed again then sanded. I sanded to get rid of the rust and loose paint.

Here it is with the primer coat and taped off legs. Did I mention painted the legs sucked? Because it did. I used spray paint (seen below) on the tabletops and a brush on enamel paint for the legs. Spray paint probably would have been better, but I didn't feel like going to the store, and I had a good bit of white enamel paint on hand.
I really liked the Valspar spray paint. It was the first time I had used it. I was pleasantly surprised at the low odor. I chose to use a satin finish on the piece. And truthfully, I would have preferred a gloss, but this color only was in stock in satin.
Skipping ahead to the finished piece, because I know you all know how to spray a can of paint!
I had to use a fine tipped brush to touch up the white paint around the legs. I also had to wipe off excess white paint that found its way to the green. Bad paint! You can see in this picture, I decided to leave the wheels alone. I had thought to take them apart and paint the metal, but decided I liked them all rusty.

I think this is looking pretty good! It certainly looks better than the rusted-up version!
Here it is at home (in my daughter's room). She loves it!
The walls looks peach in this picture, but they are actually beige.

It is already filled with books! The cart is just the right height for bedside use. I was seriously tempted to keep it for myself and use it for plants on my porch. Then I remembered all my plants die, and decided it was best used in the bedroom!
Below is the before and after, and I think the after is a huge improvement! I would love to find another of these in slightly better shape to leave in the original white enamel and metal legs!

My next project I am feeling a little guilty about. The woman I purchased it from (at a garage sale) went on and on about how special this picture was. Granted, it came from Kirklands, so I doubt it could really be that special-not to mention she had it in her garage sale......Anyway, it is a framed print of Noah's ark. I bought it for the frame. It is going to make an AWESOME chalkboard! I hope she doesn't stumble across my blog, she would probably cry. I felt terrible bargaining down the price on it, but since I am cheap....I did it anyway. I still paid more than I would have liked, but I am so excited to work on it! Sadly, it wont go in the house, but will head down to my shop!